


As we head into summer and move from heavier meals to lighter and often simpler flavours, we considered it as good a time as any to teach you how to fillet a fish. Maybe this post will even encourage you to try a spot of fishing this summer, sans fishmonger of course (who usually does all the hard work for us).
So we welcome you to our Kitchen Skills 101 series - prepare to become a skilled and masterful chef! This method is designed to produce an end result that will give you beautiful clean fillets, little bones and virtually no wastage.
You will need:
1 x Fish!
This method can be adapted to suit most fish species with scaled skin, such as reasonable sized coral trout, barramundi, mangrove jack and salmon.
Utensils:
1 x cutting board
1 x knife with a thin and flexible blade (for cutting along the backbone)
1 x knife with a broad and flat blade (for removing hard skin)
1 x pair of protective wear gloves
Step 1. Sharpen your knife and put on gloves to protect your hands when dealing with a sharp knife and a scaly fish.
Step 2. Place the fish flat on the cutting board. Using the thin knife, pierce the skin behind the front dorsal fin (near the side of the head).
Step 3. Slice the knife diagonally across the fish, cutting to, but not through the backbone (as though you are almost going to cut off the head).
Step 4. Hold the fish by the head and run the blade down the backbone towards the tail. You may need to use a little force and a sawing motion.
Step 5. Once you have reached the tail region, push the knife right through to the other side of the fillet. With the knife protruding out the other side, cut right through the remaining fillet towards the tail.
Step 6 & 7. Peel the fillet back with one hand while cutting the fillet away from the backbone using small slicing motions. Don't try to cut too much away in one stroke. It is better to use many small cuts.
Step 8. The most difficult task is to remove the fillet from the rib cage area. A very sharp knife is essential here. Using small strokes again, just feel your way around the bones, eventually completely removing one side of the flesh.
Step 9. Turn the fish over making sure to hold the fish fairly flat on the cutting surface, and repeat the procedure to remove the other fillet.
Step 10. The fish "wings" are regarded by some culinary experts as the second best eating part of any fish, second only to the meat found at the back of the head. Break or cut them off whole and save them for the BBQ.
And there you have it, two superb fillets, the wings and the carcass (which will make for a fabulous fish stock!).
Step 11. Next comes the removal of the skin, note that the fish has not been scaled and this is not necessary. Hold the tough skin in one hand and using the flat bladed knife, slice a small portion of the flesh away from the skin.
Step 12. Cut a "finger hole" into the skin.
Step 13. Hold the skin by the finger hole, and using the broad bladed knife, gently remove the skin from the remaining fillet. It is important to hold the knife at the correct angle and to pull on the skin, not push or cut with the knife. Holding the blade too flat will result in a jagged cutting action and probably leave some skin on, hold it too upright and you will slice through the skin and make it difficult to re-start the procedure.
There is no substitute for practice, and you may not get it perfect the first time. Be patient. Go catch a few fish :)
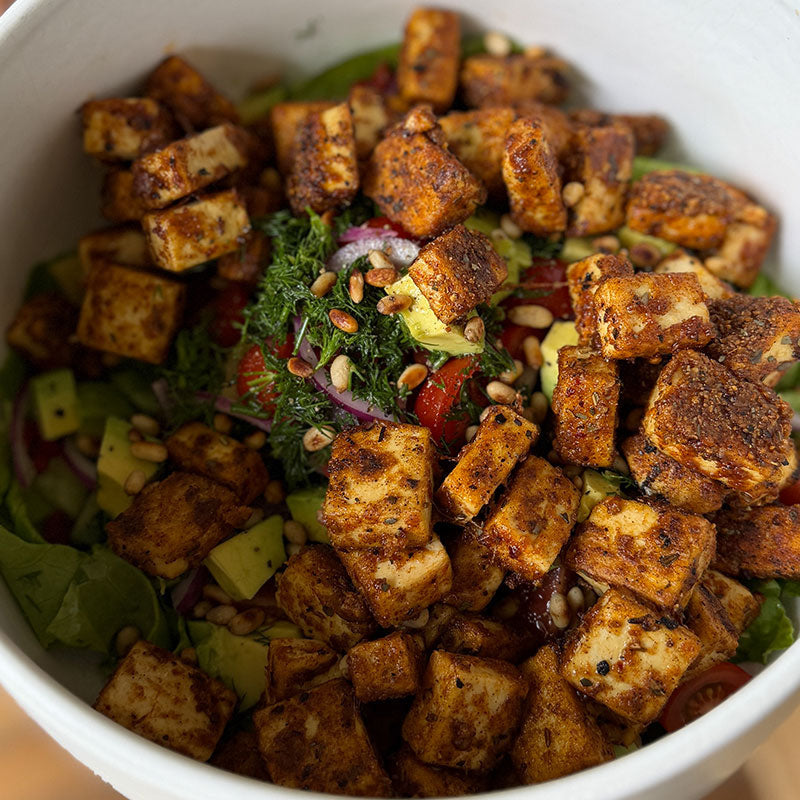
P.S. We have a salmon dish coming later this week. You have a few days up your sleeve to catch a beauty!