Not really a whole bunch to say here folks, other than that I seem to be letting you in on my culinary secrets! Check out exactly how I have come to perfect my steak cooking abilities in the directions below.
Choose grass fed, organic meat - where possible!
The THI Steak Temperature Rules.
For these rules I am referring to a 2 centimetre thick cut of sirloin steak. The following are the cooking times you should follow.
Blue: 1 minute each side
Rare: 1½ minutes each side
Medium rare: 2 minutes each side
Medium: 2¼ minutes each side
Medium-well done: 2½ - 3 minutes each side
Well done: 3 - 4 minutes.
Method 1: On the pan.
Heat a frying pan over medium-high heat.
Brush the steak with a good quality olive oil (to prevent it sticking) and season generously (see point 2 below). Note that we are rubbing the steak itself with oil, and not adding the oil to the pan.
Place your steak on the pan and cook for as many minutes as you would like your steak cooked (see our rules above).
Turn the steak only once (contentious point I'm sure and I'm always up for a meaty debate!). Use tongs to turn the meat (be sure not to pierce the meat with a fork for example, as this allows the precious juices to escape).
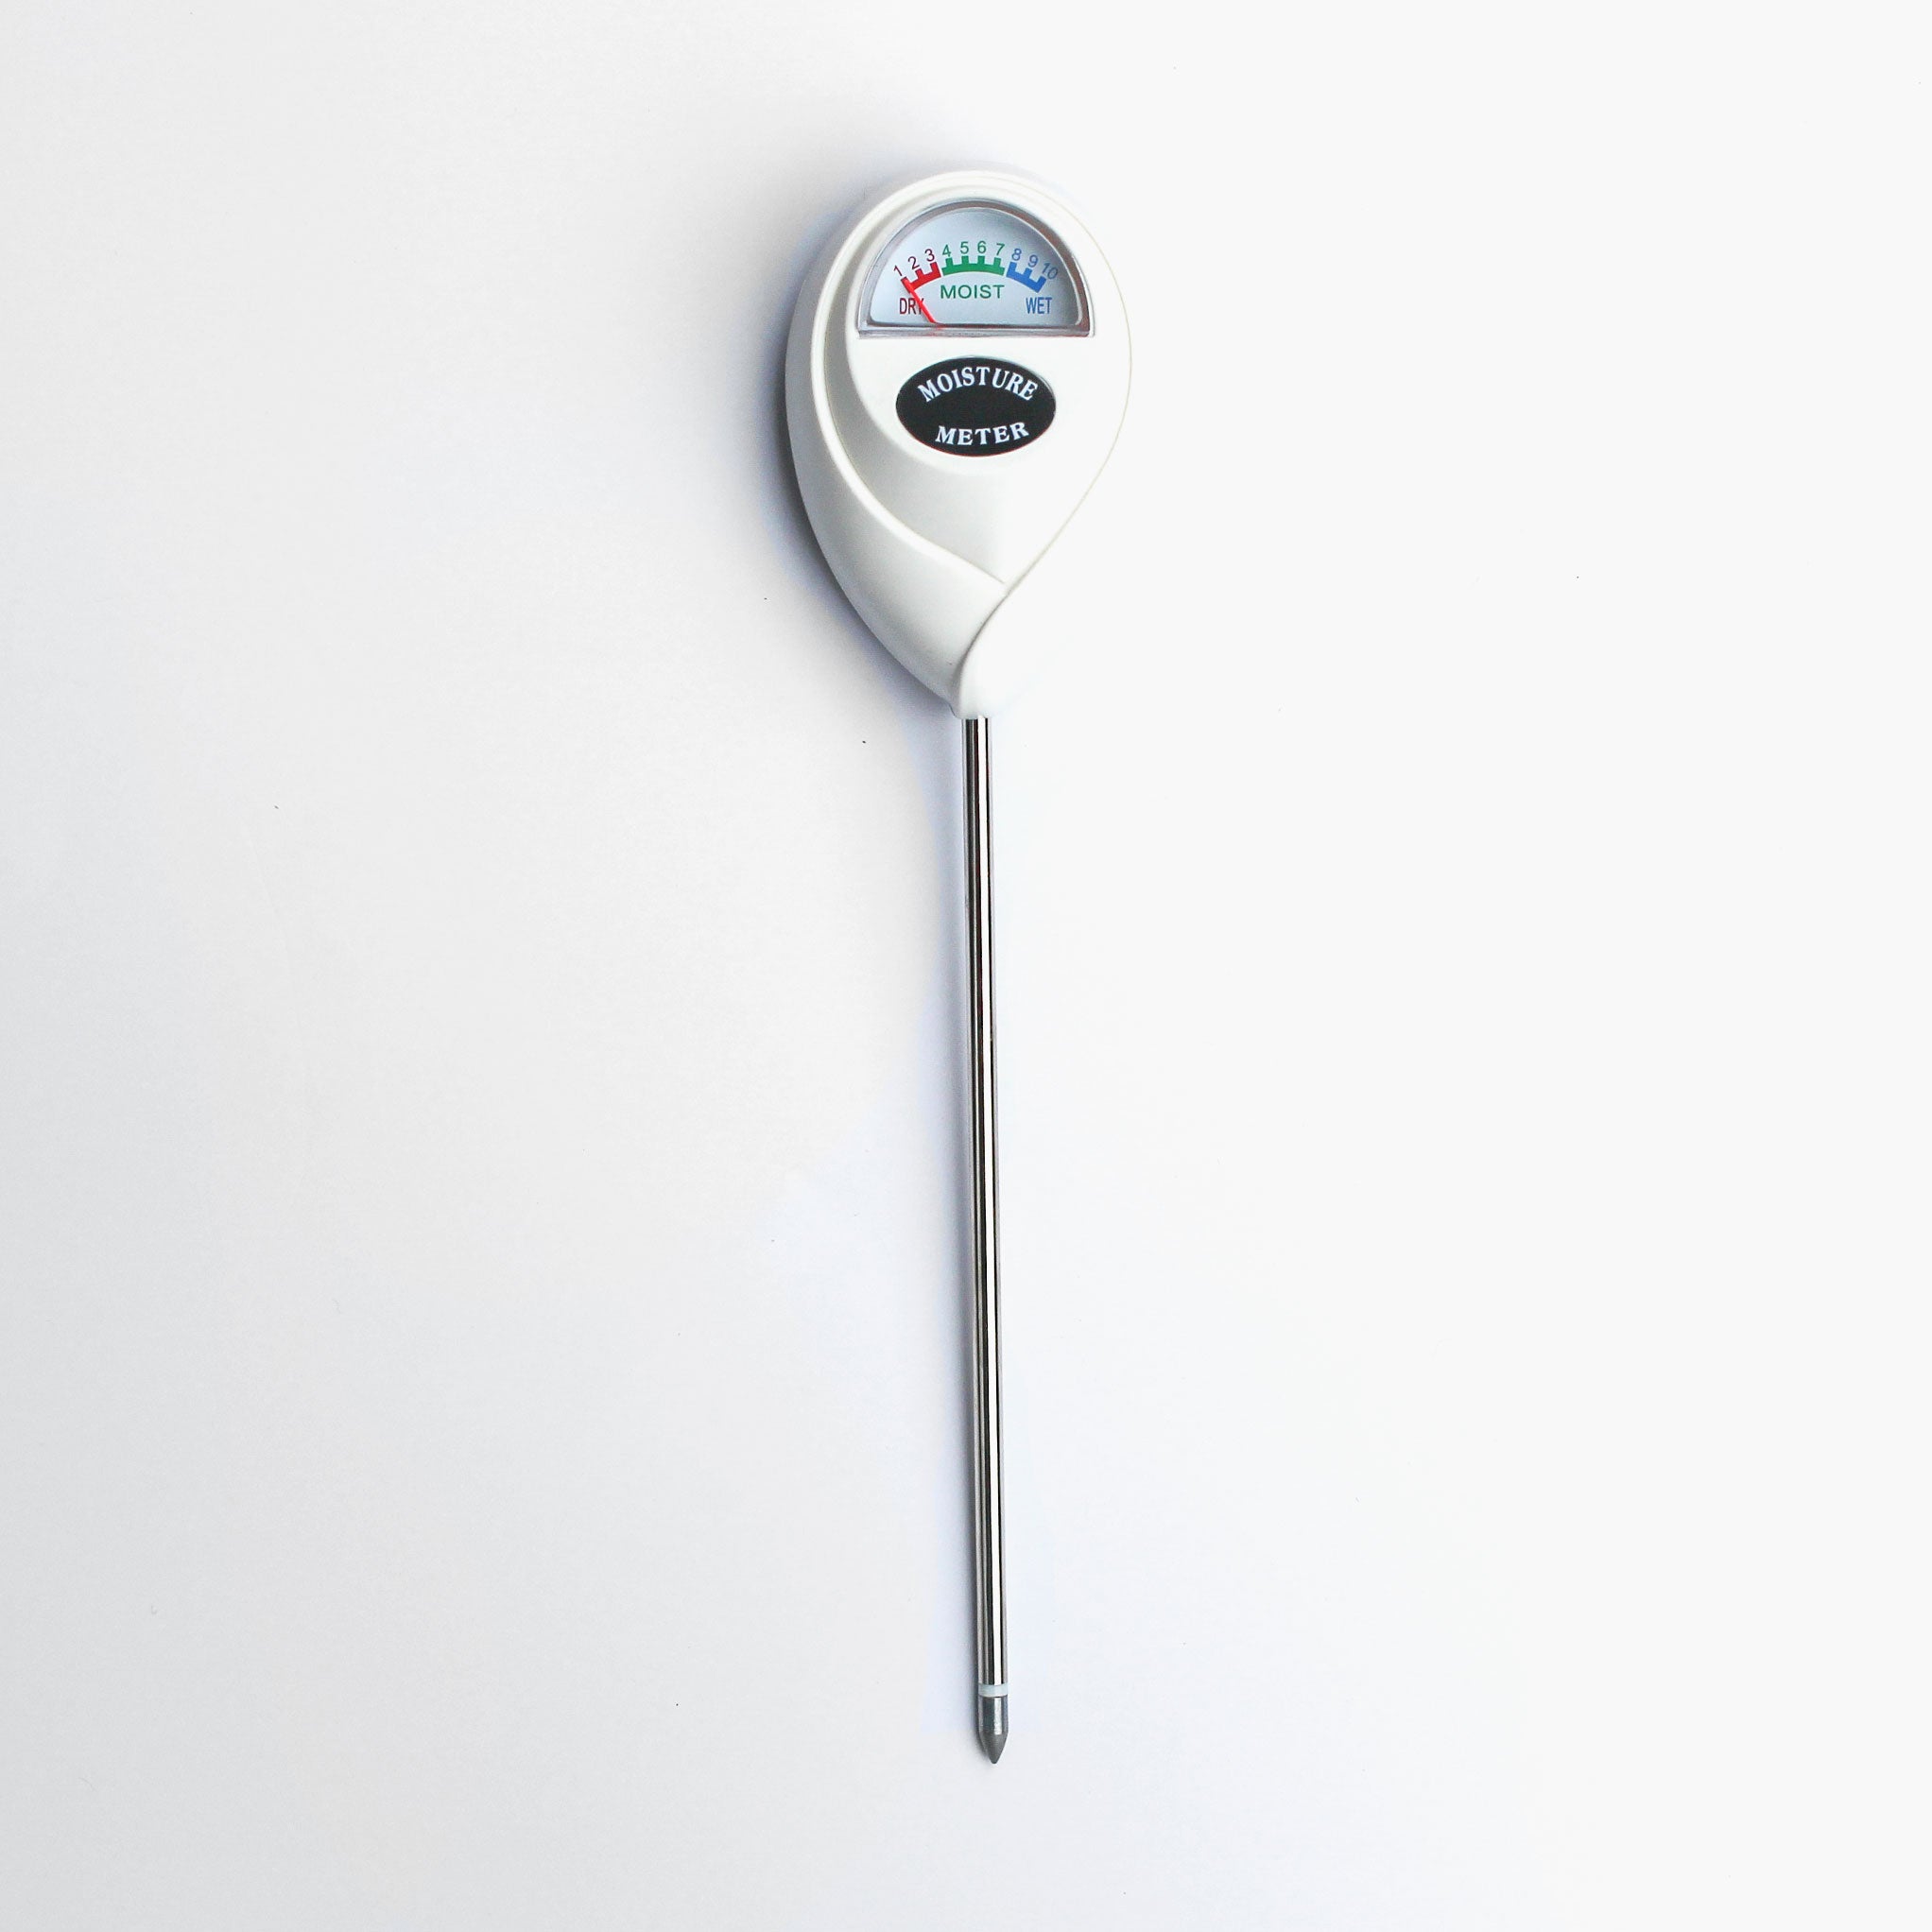
To test if your steak is done you have one of two options. You can either press on the centre with the back of your tongs (the steak will feel soft if it's rare, slightly firmer and springy when it's medium and very firm when it's well-done), or you can source a thermometer and refer to our instructions below.
Transfer steak to a plate, cover with foil and set aside for 3-5 minutes to rest. This allows the juices to settle and the muscle fibres to relax, which ensures the steak is tender.
Method 2: Oven Roasting.
So you want to get a bit fancy? Restaurants often use this method of cooking steak. It does however require 2 steps (therefore not a method frequented in my kitchen ;-) ). Here we go.
Preheat the oven to 200 degrees C and source a heavy based frying pan (like a cast iron skillet) that is oven proof.
Season your steak with olive oil, salt and pepper. Heat the pan until it is piping hot over high heat on your hotplate.
Add the steak and sear it for 90 seconds on each side, sealing the steak and locking in the juices.
Now, place the pan in the preheated oven to finish cooking. Roast the meat for between 6-9 minutes, depending on how you like it cooked (6 minutes for rare, 9 minutes for well done).
If you don’t have an iron skillet, all hope is not lost. Use a regular frying pan to sear the steak, and then transfer it and all the juices to an oven-safe pan to finish the roasting process.
Method 3: The BBQ Grill.
A fave of the meat lovers!
Make sure your BBQ is piping hot. Dab a little olive oil on a paper towel or a small brush and rub the grill slats before you lay the steak down.
Once the steak is on the grill, reduce the heat to medium and close the lip (and keep it down! no peeking). After 4 minutes, it’s time to turn the steak over. Cook for a further 4-8 minutes on the other side, depending on your meaty preference.
Don't make these mis-'steaks'!
1. Supermarket shopping.
A steak is not a steak is not a steak! Which means that purchasing from a butcher gives you the opportunity to navigate the many cuts of meat and to discuss exactly how to cook them. Heading to the supermarket will present you with the usual suspects and often older cuts. Your butcher on the other hand may well open your eyes to different (often less popular) cuts that can boast an amazing flavour. What's more, the butcher is your go-to for the freshest meat available. Don't be afraid to have a chat, get to know your local market!
2. Sparingly sprinkle.
The thing is, you can't season the inside of a steak! So now is not the time to go easy on the external seasonings. Salt (a good quality Celtic or Pink Himalayan) and pepper will do. Stop short of those "creative" steak rubs you can purchase from the super, many are filled with preservatives and other rubbish. Plus, if you've gone to the trouble of purchasing a good quality cut as we mention in point 1, then you want to actually taste the thing. Create an impressive crust and abandon those thoughts of keeping salt in your diet to a minimum, this is the time you get to let loose!
3. Fridge to pan.
Planning ahead is key, especially if your steak is thick. You'll need to be removing your steak from the fridge in time for it to come to room temperature. For the thinner cuts, a half hour on the counter will do. If you steak is over an inch thick however, an hour or two is best. Why does this matter? I hear you ask. Well, if you slap your cold steak straight onto a pan you risk an undercooked steak with a grey exterior. Not the look we are going for!
4. Cooking by touch.
Can you tell how a steak is done just by feeling it? Well good for you ;) For the rest of us mere mortals who find this a little trickier (it does take loads of practice), I'd suggest investing in a cooking thermometer.
Here's an internal temperature cooking chart. This can be applied to beef, veal and lamb steaks, roasts and chops.
| Degree of 'done-ness' | Internal temperature |
| Blue | 26-38 degrees C |
| Rare | 49-51 degrees C |
| Medium- Rare | 55-57 degrees C |
| Medium | 60-63 degrees C |
| Medium-Well | 65-69 degrees C |
| Well | 71 degrees C |
5. Slicing too soon.
Your steak needs some time to snooze, post its time on the pan. Allowing the steak to rest for a few minutes (5-10 for thinner cuts, 10-15 for thicker) will allow the juices to redistribute. Doing so will mean your steak doesn't bleed. Repeat after me, your steak will not go cold.
6. Hacking with a dull blade.
Ah! You've come so far. Don't hack into your masterpiece with a dull blade. A sharp knife and an incision made perpendicular to the steaks natural grain will ensure not only an easier slice, but a prettier and tastier steak.
Have I missed any amazing steak cooking tips? What are your handy tricks that you use in your home? I'd love for you to share them with me in the comments below, we can update our article as we go.


